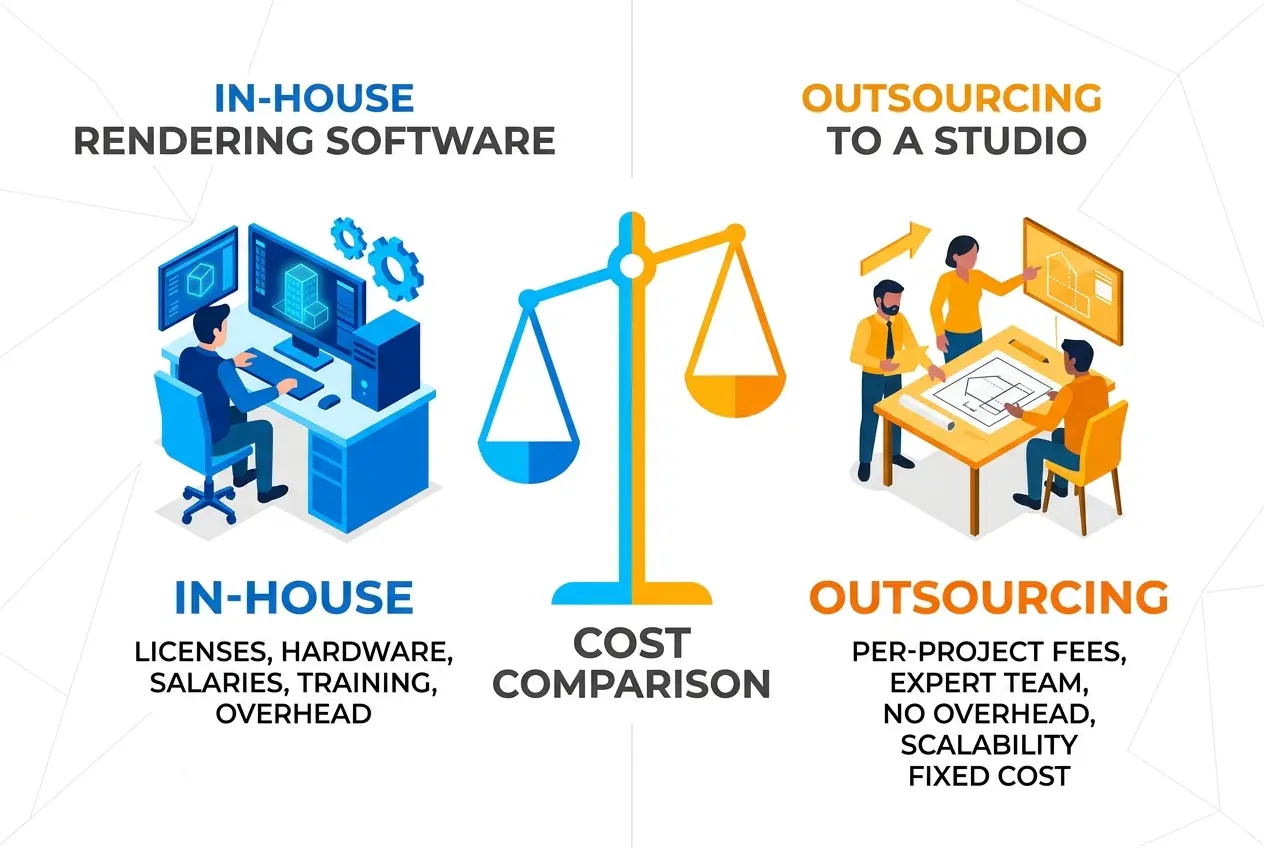

When clients come to us with a self-build or custom housebuilder project, the first question is almost always about cost. The second — and far more important one — is about timing. Commissioning 3D rendering for self-build and custom housebuilder clients: what visualisations are worth commissioning at each design stage is genuinely one of the most practical questions you can ask before your project begins. Get it right, and you’re spending your visualisation budget where it actually moves decisions forward. Get it wrong, and you end up paying for high-resolution renders of a design that changes three weeks later, or skipping renders entirely at a stage where they would have saved you a costly mistake.
Self-build and custom housebuilder projects are fundamentally different from developer-led schemes. You’re dealing with a single client — often a family or individual — who has enormous personal investment in the outcome, limited experience reading architectural drawings, and a lot of decisions to make over a long timeline. The architect understands the CAD files. The structural engineer understands the technical drawings. But the client is trying to make a lifelong decision based on documents they’ve never been trained to read. That gap is where 3D visualisation earns its budget back, several times over.
What follows is a stage-by-stage breakdown of which visualisations actually justify commissioning, based on what we’ve seen work — and what we’ve seen get skipped, only for a client to wish they hadn’t.
Stage 1 — Concept and Feasibility: Do You Even Need Renders Yet?
Honestly? Often, no. At early concept stage, the design is still in flux. The massing might change, the roof form might flip, the site orientation might shift. Commissioning photorealistic exterior renders at this point is premature — you’ll be rendering a design that may look nothing like the finished building.
What does work at this stage is a basic massing study — simple blocked-out volumes that show scale, proportion, and relationship to the site. These don’t need to be photorealistic at all. A clean white-model render with contextual landscaping is perfectly adequate. It gives the self-build client something spatial to react to without locking anyone into a finished material palette or roofline. In our studio, we’d describe this as an LOD 100–150 render: it communicates mass and positioning, nothing more. Understanding what level of architectural detail do you actually need in a 3d rendering lod 100 to lod 400 explained for developers before you brief a studio can save you from over-commissioning at the wrong moment.
One thing that is worth doing at feasibility, particularly on plots with planning sensitivity, is a daylight or sun study. Councils increasingly expect this, and getting daylight simulation in architectural rendering how accurate sun studies are helping developers beat planning objections right early on can flag issues before you’ve spent money refining a design that was never going to get approved.
Stage 2 — Planning Application: This Is Where Exterior Renders Earn Their Keep
Planning stage is the single most important point to invest in exterior visualisation for a self-build project. Full stop. The planning officer reviewing your application is reading dozens of applications simultaneously. A well-composed, contextually accurate exterior render communicates intent, materiality, and neighbourhood fit far faster than a set of technical drawings.
For self-builds and custom homes going through full planning permission, we’d typically recommend two to three exterior renders: a front elevation view from street level, a rear garden view if the scheme has significant rear extensions or glazing, and an aerial or three-quarter view to show the roofscape. That’s usually enough. You don’t need ten angles at planning — you need the right three.
Render style matters here too. Photorealistic renders with accurate material finishes work well for straightforward schemes in established residential areas. For sensitive sites — conservation areas, AONB designations, greenbelt — some planning committees prefer a slightly softer presentation style. It’s worth reading up on residential exterior rendering styles compared photorealistic vs sketch vs watercolour which wins planning committees before briefing your studio on the treatment you want.
If the project involves a public consultation element — which is increasingly common for self-builds in sensitive locations — the conversation about interactive formats becomes relevant. There’s a growing trend worth understanding around why architects are replacing physical planning boards with interactive 3d renders at public consultation events. For a self-build, this level of investment is rarely necessary — but if your project is large, high-profile, or controversial, it’s worth knowing the option exists.
Stage 3 — Detailed Design and Technical Sign-Off: Interior Renders Pay Dividends Here
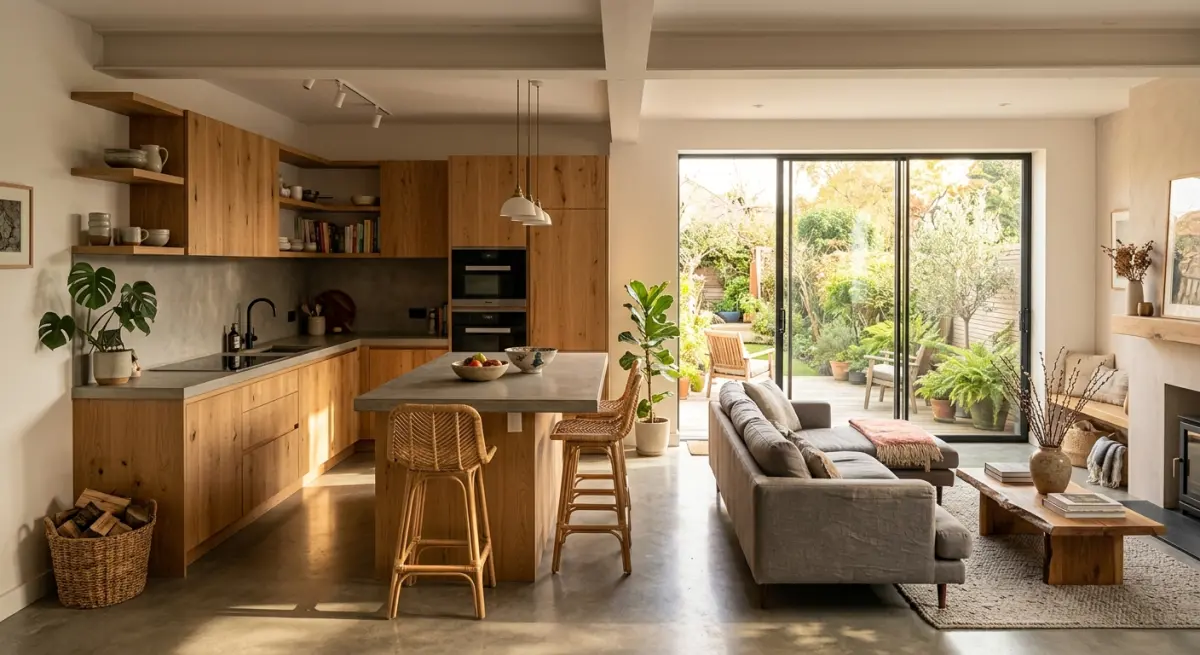
Once planning is secured, the project moves into detailed design. This is where a lot of self-build clients make a critical mistake: they assume that because they’ve approved the floor plans, everyone is aligned on what the spaces will feel like. They’re not.
A floor plan tells you room dimensions and door positions. It tells you nothing about ceiling height, natural light, the relationship between the kitchen island and the glazed wall behind it, or whether the open-plan arrangement actually feels connected or just big and cold. Interior renders at this stage close that gap fast. We’ve consistently seen that how architects use 3d interior renderings to reduce client change requests during the design stage is one of the most financially justified uses of the visualisation budget — because a change request on a 3D render costs a fraction of what the same change costs on site.
The rooms worth rendering at this stage are the ones with the most design complexity or emotional weight for the client. For most self-builds, that means the main kitchen/living/dining space, the master bedroom, and any feature areas — a vaulted entrance hall, a bespoke staircase, a home study. You don’t need to render every bedroom. Focus on the spaces where the design decisions are most consequential and least reversible.
This is also the stage to commission 3D floor plan rendering if the client struggles to read traditional plans. A 3D floor plan rendering gives the spatial clarity of a perspective with the room-by-room legibility of a plan — it’s particularly useful when clients are reviewing layouts remotely or presenting the design to family members who aren’t in the day-to-day design conversations.
Stage 4 — Material and Specification Decisions: Targeted Renders, Not Full Commissions
Here’s a stage most people underestimate. Once detailed design is signed off, clients begin making material choices: external cladding, window frames, roof tiles, internal finishes, kitchen cabinetry. For a self-build, these decisions accumulate fast and involve real budget exposure.
You don’t need to commission new full renders for every material choice. What you need is a targeted update to existing render files — swapping out one cladding material for another, changing a window frame colour, testing a different brick against the render context. This is much cheaper than a new render commission because the model and scene are already built. Ask your rendering studio upfront whether they retain the project files and offer material-swap revisions. Most professional studios will.
Where a new render commission does justify itself at this stage is when the client is choosing between two fundamentally different external material schemes — say, a dark-stained timber cladding versus a white render finish. Side-by-side renders of both options on the same model let the client make the decision visually, which is far faster and more confident than looking at physical samples held up against a printed elevation drawing.
Stage 5 — Pre-Construction and Contractor Engagement: What’s Actually Useful

Some self-build clients want to commission fresh renders at this stage for emotional reasons — they want to see the finished house looking its best before breaking ground. That’s entirely valid. But it’s worth being clear-eyed about what these renders are actually for.
If the renders are for personal use, social media, or sharing with friends and family, a couple of polished exterior shots and one or two interiors is plenty. If they’re for contractor tender purposes — helping builders quote accurately by understanding the design intent — then a mix of exterior context renders and detailed interior renders showing specification level is genuinely useful for avoiding misquoted scopes.
For self-build clients who are running any kind of blog or social documentation of their build journey, a 360 virtual tour at this stage can be worth considering. It gives a fully navigable walkthrough of the design as intended, which can be updated after completion for comparison. You can read more about 3d 360 virtual tour rendering and how it compares to other formats for this kind of use.
What Self-Build Clients Most Often Get Wrong With Render Commissioning
A few patterns come up again and again in our experience with self-build and custom housebuilder projects.
| Common Mistake | What Happens | Better Approach |
|---|---|---|
| Commissioning photorealistic renders at concept stage | Design changes, renders become obsolete before planning | Use massing models at concept; save photorealistic budget for planning stage |
| Skipping interior renders entirely | Late-stage change requests that cost significantly more on site than in a render revision | Commission interior renders of key spaces at detailed design stage |
| Requesting too many angles at once | Budget spread too thin across low-value views; quality suffers | Identify the three to five views that actually drive decisions, brief those specifically |
| Not retaining model files for future revisions | Each change requires a near-full recommission | Clarify file ownership and revision pricing before committing to a studio |
| Treating renders as marketing assets from the start | Client expectations fixed early; harder to present design refinements as improvements | Use early renders as design tools, not final presentations |
The other thing worth mentioning: brief quality matters enormously. A poorly briefed render — vague references, no indication of preferred time of day, no information about site context — will produce a technically correct but emotionally flat result. If you’re not sure how to put a brief together, how to brief a 3d rendering studio what architects and developers need to prepare before project kickoff is worth reading before you pick up the phone to any studio.
A Practical Stage-by-Stage Summary
To bring it all together simply:
- Concept/Feasibility: Massing study renders and sun path studies if planning-sensitive. Keep LOD low.
- Planning Application: Two to three photorealistic exterior renders. Correct style for the planning context. This is non-negotiable if you want the best chance of approval.
- Detailed Design: Interior renders of key spaces. 3D floor plans if client needs layout clarity. This is where you prevent costly changes later.
- Material Selection: Targeted material-swap revisions rather than full new commissions. New full renders only when comparing fundamentally different schemes.
- Pre-Construction: Polished final renders for emotional sign-off, documentation, or contractor briefing. Optional 360 tour if the client wants an immersive record of the design intent.
If you’re an architect working with self-build clients, or a self-builder managing your own design team, the most productive thing you can do is treat visualisation as a design tool across the full project timeline — not a one-time spend before planning. The clients who get this right spend less money overall on renders, make fewer changes on site, and arrive at the finished building feeling confident that what was built is what they actually chose.
If you’d like to talk through which renders make sense at your current project stage, contact us at 360archviz.com. We work with architects, custom housebuilders, and self-build clients across the UK and globally, and we’re straightforward about what’s worth commissioning and when.
Frequently Asked Questions
What types of 3D visualisations should I commission at the concept design stage of a self-build project?
At concept design stage, simple massing models and basic exterior renders are the most cost-effective visualisations to commission, helping you test how the building sits within its plot and landscape before committing to detailed design work. These early renders don't need photorealistic finishes but should clearly communicate scale, form, and relationship to boundaries or neighbouring properties. They're particularly useful when presenting initial ideas to a planning officer or getting early feedback from a local authority.
Are photorealistic 3D renders worth the cost for a self-build planning application?
Photorealistic exterior renders can significantly strengthen a planning application, especially for contemporary or unconventional designs that may be harder for a planning committee to visualise from drawings alone. A high-quality render showing the building in context with accurate materials, landscaping, and lighting can reduce the risk of objections and speed up the decision process. For straightforward projects in sympathetic styles, a mid-level visualisation may suffice, but for design-led or contentious applications the investment is usually justified.
When is the right time to commission interior 3D renders during a custom build project?
Interior renders are most valuable once the design has been fixed at RIBA Stage 3 or 4, when room layouts, window positions, and key finishes have been confirmed, as changes after this point can make earlier renders redundant. They're especially worthwhile for open-plan living spaces, bespoke kitchens, or feature rooms where spatial quality and natural light are central to the brief. Commissioning interiors too early risks wasted spend if the design evolves, so coordinate render briefs closely with your architect's design programme.
Can 3D renders be used to help me make finish and material decisions during the detailed design stage?
Yes, material study renders are a practical and increasingly popular tool at detailed design stage, allowing self-builders to compare cladding options, roof materials, window colours, and landscaping treatments side by side before purchasing samples or placing orders. These renders don't need to be full photorealistic scenes and can be produced relatively quickly as variations on an existing base model, keeping costs manageable. They reduce the risk of expensive on-site material changes and help clients and architects reach decisions with greater confidence.
How much should a self-builder budget for 3D visualisations across the full design process?
For a typical self-build or custom home project, a realistic total budget for visualisations across all design stages ranges from £1,500 to £8,000 depending on complexity, number of views, and level of realism required. A phased approach—starting with simpler concept renders and investing more heavily in photorealistic imagery only when the design is fixed—helps spread costs and ensures spend is targeted where it adds the most value. It's worth discussing a staged visualisation plan with your architect and renderer at the outset so the budget is allocated strategically rather than reactively.