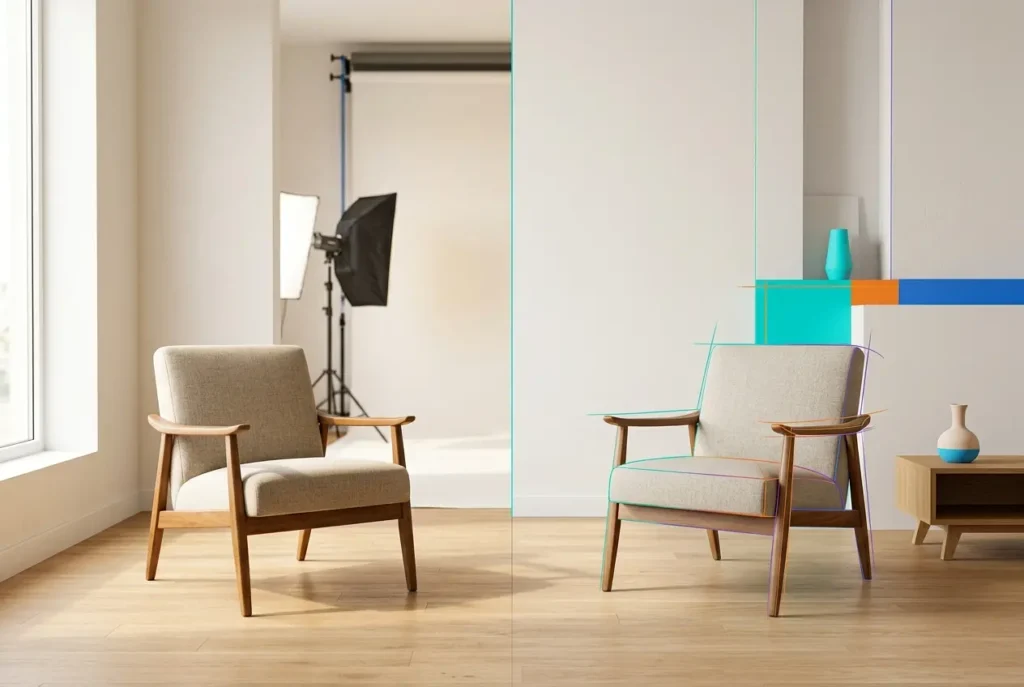
A few years ago, almost every DTC home decor brand we worked with wanted a mix: some studio photography for the “hero” shots, and CGI for the trickier variants — different fabric colors, alternate finishes, seasonal styling. That mix has quietly flipped. Now most of our furniture and decor clients ask us to build the entire catalog in 3D from day one, and the photography budget either shrinks to almost nothing or disappears entirely. This shift is the whole story behind 3D Furniture Rendering vs Traditional Studio Photography: Why DTC Home Decor Brands Are Moving Entirely to CGI, and it’s not a trend driven by hype — it’s driven by math, logistics, and how fast these brands need to move.
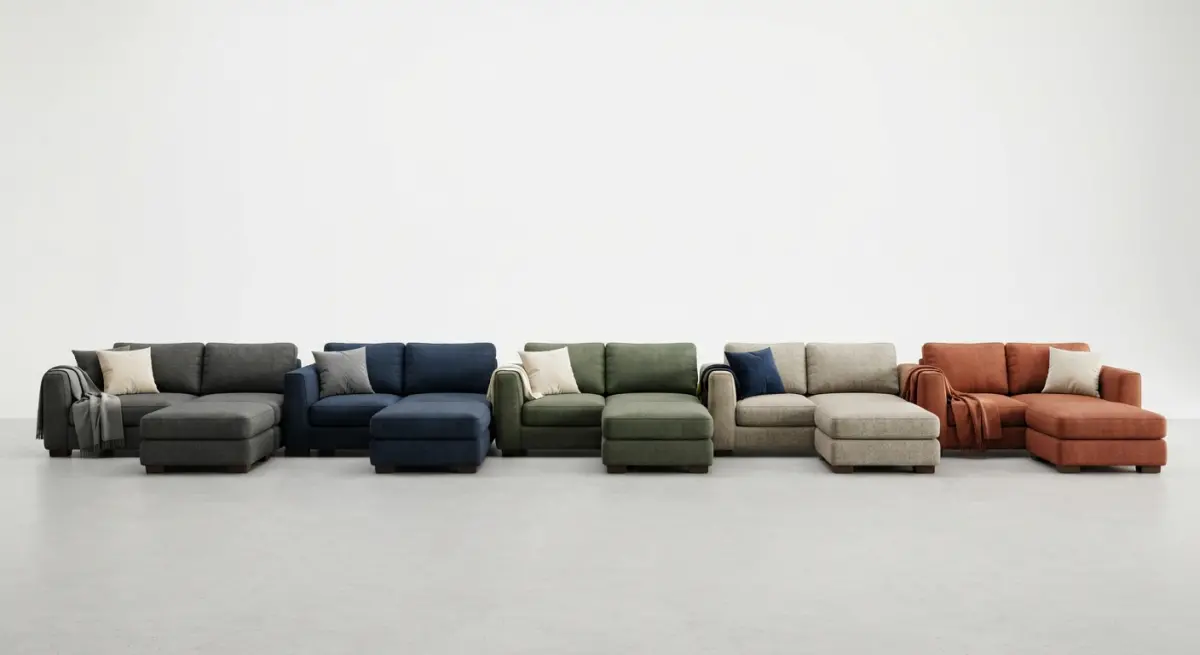
In our studio, we’ve rendered the same sofa in fourteen fabric options, built a full lifestyle scene around it, and delivered every image in the time it would take a photography crew to just set up lighting for one shot. That’s not a knock on photographers — a good product photographer is still worth every rupee for certain jobs. But for a brand launching twelve SKUs a month, each with six to ten color variants, photography stops making sense somewhere around the second product line.
What I want to do here is walk through the actual technical and operational reasons this shift is happening, where CGI genuinely wins, where photography still has an edge, and what brands get wrong when they make the switch too fast without a plan.
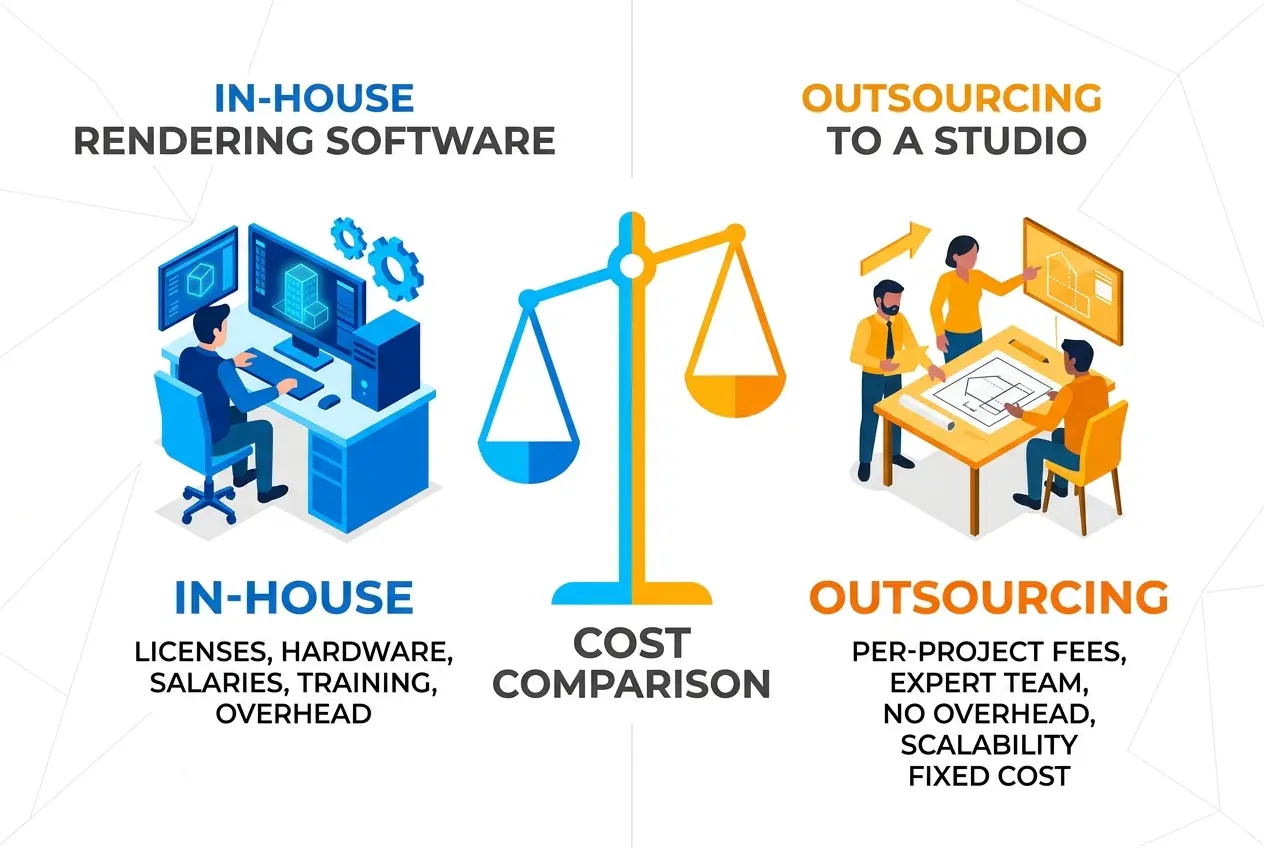
3D Furniture Rendering vs Traditional Studio Photography: The Real Cost Comparison
The obvious argument is cost per image, but that’s the least interesting part of it. The real cost difference shows up in what happens after the shoot.
With studio photography, every color variant, every fabric swap, every new cushion arrangement means re-shooting. You’re paying for a studio rental, a photographer, a stylist, and often a model or hand model, every single time. If the client changes their mind about a prop or wants the same chair against a different wall color, that’s another session.
With 3D, once we’ve modeled the furniture piece accurately — correct proportions, real stitching detail, accurate material weight and sheen — swapping the upholstery from bouclé to velvet to linen is a material change, not a production. We’re not re-lighting a room, we’re just re-rendering. A brand with a modular sofa system that comes in eight configurations and twenty fabrics would need hundreds of physical photography setups to cover every combination. In CGI, we build the modular pieces once and recombine them digitally.
Speed to Market and the SKU Problem
DTC brands live and die by how fast they can get new products listed and how quickly they can test variants. Studio photography has a hard bottleneck: physical inventory. You cannot photograph a chair that hasn’t been manufactured yet. That means brands were traditionally forced to wait for a sample from the factory, ship it (often internationally), style it, shoot it, retouch it, and only then list the product.
That timeline can stretch to weeks. With 3D rendering, we can start building the model from the manufacturer’s CAD files or even detailed spec sheets and reference photos before a single physical unit exists. Some of our furniture clients now list products for pre-order using renders alone, and manufacture based on actual demand. That’s a genuinely different business model, not just a faster version of the old one.
Where CGI Actually Outperforms Photography
It’s worth being specific about where 3D wins on quality, not just speed and cost.
- Lighting consistency across a catalog — every product photographed in a real studio has slightly different shadow falloff depending on the day, the bulb, the reflector angle. In CGI, we set the lighting rig once and every product in that collection gets identical, repeatable lighting. Catalogs look like one coherent set instead of a patchwork of shoots.
- Impossible angles — a straight-down top view of a dining table fully set, or a cutaway view showing the internal frame structure of a sofa, is hard or impossible to photograph cleanly. In 3D it’s just a camera position.
- Lifestyle scenes without renting a location — placing a bed frame in a Scandinavian-style bedroom, then the same frame in a warm mid-century living space, doesn’t require two locations. It requires two scene files.
- Material accuracy at scale — we can build a physically accurate material library once (velvet with correct fiber scatter, oak with correct grain direction and sheen) and reuse it across every product that uses that material, which keeps color and texture consistent brand-wide.
Where Traditional Photography Still Wins
I’d be doing you a disservice if I pretended photography has no place left. It still matters in a few specific situations.
Textural authenticity at extreme close range — a macro shot of hand-loomed wool or aged leather — is still something photography captures more convincingly than most render engines, unless the render is built with the sole purpose of that one close-up and given the render time to match. Brand trust imagery, like a founder in their workshop or a factory floor shot, has to be real. And influencer or UGC-style content, where authenticity is the entire point, obviously can’t be CGI.
The smart brands we work with don’t abandon photography completely — they use it surgically, for brand story content and a handful of hero shots, and let CGI handle the actual product catalog, which is 90% of the volume.
What Furniture Brands Get Wrong When Switching to CGI
We’ve seen the same handful of mistakes repeat across different clients.
| Mistake | Why It Hurts | What Works Instead |
|---|---|---|
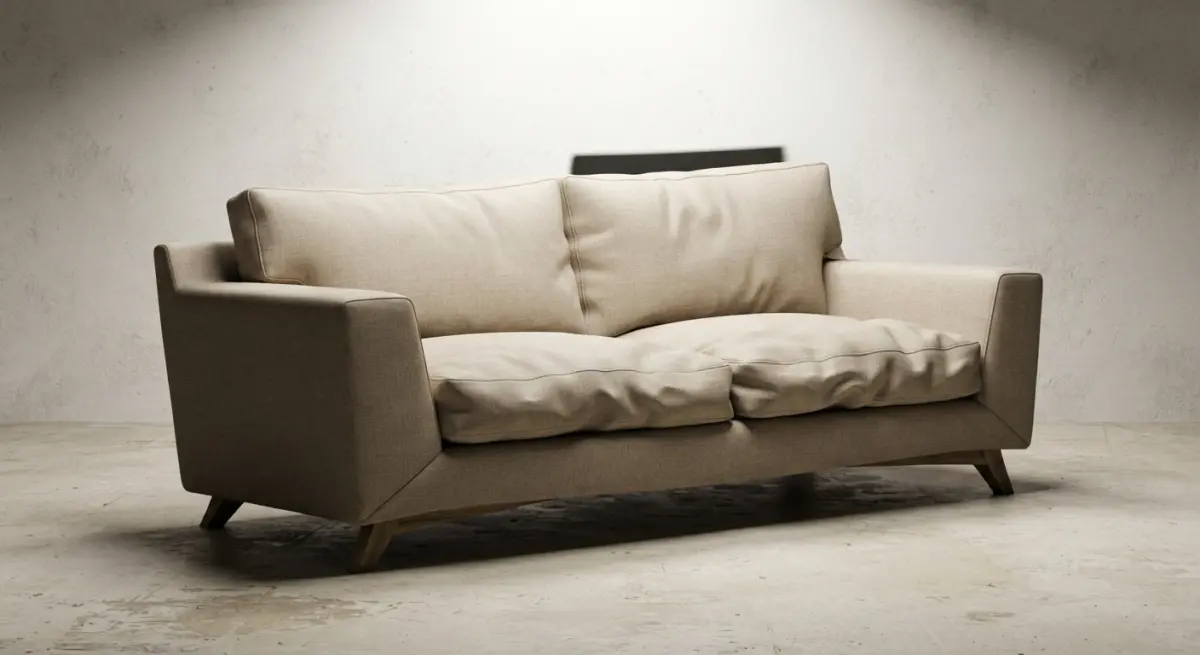
| Sending low-res factory photos as the only material reference | Textures come out flat or slightly wrong in color, causing return disputes | Send physical swatches or high-res macro shots plus Pantone codes when possible |
| Skipping accurate dimensions/CAD | Proportions look “almost right” which is worse than obviously wrong — customers sense something is off | Provide manufacturer CAD or precise measurements before modeling starts |
| Treating first-pass renders as final | Furniture rendering, like architectural work, needs review rounds for material and lighting accuracy | Budget one to two revision rounds into the timeline |
| Using generic HDRI lighting for every scene | Products look sterile or catalog-like when a lifestyle feel was the goal | Custom light rigs per scene type, similar to how we approach residential interior rendering for architecture clients |
| Ignoring how the render will be used downstream | An image built for a static product page looks wrong cropped for Instagram or a 360 spin | Brief format needs upfront — web, print, social, or interactive |
The Technical Side: What Actually Goes Into a Convincing Furniture Render
Photorealism in product CGI comes down to a short list of things done properly, not some secret software trick.
Material shaders need to account for how light actually behaves on the surface — subsurface scattering for wax-finished wood, anisotropic reflection for brushed metal legs, fiber-level detail for fabrics under raking light. A shader that looks fine head-on can fall apart the moment the camera angle changes, so we test materials at multiple angles before locking them.
Lighting setups mimic real studio lighting principles — key light, fill, rim light — but in CGI we can also add practical light sources like a window or lamp that would be impossible to control precisely in a physical shoot. This is the same underlying logic we use when working through warm vs cool lighting in residential interior rendering how colour temperature changes buyer perception, just scaled down to product level — color temperature changes how premium or casual a piece of furniture feels.
Scale and proportion matter more than people expect. A render that’s technically accurate but framed with the wrong lens focal length can make a compact sofa look bulky or a large dining table look small. We treat this the same way we’d think about level of detail for architectural work — matching the amount of modeling precision to how close the camera will actually get, similar to the logic in what level of architectural detail do you actually need in a 3d rendering lod 100 to lod 400 explained for developers.
Lifestyle Scenes vs Studio White Background
Most catalogs need both, and CGI handles the split efficiently. White background product shots are straightforward once the model and materials are locked — it’s mostly about clean shadow catching and accurate color. Lifestyle scenes are where the real production value shows up: building a believable room, populating it with secondary furniture, plants, and window light, and making sure the hero product doesn’t get visually lost.
We usually build one solid “room kit” per collection style — a coastal living room, an urban loft, a minimalist Scandinavian bedroom — and reuse it across multiple product lines with adjusted dressing. That reuse is where the cost advantage compounds even further, since the environment build is a one-time cost amortized across dozens of product shots.
Practical Advice If You’re Considering the Switch
Start with your best-selling or most variant-heavy product line first, not your newest launch. That gives you a direct side-by-side against existing photography so you can judge quality honestly. Get your CAD or accurate measurements sorted before you approach a rendering studio — this single step affects timeline more than anything else. And decide early whether you need lifestyle scenes, white background catalog shots, or both, because that changes both cost and how the environment gets built.
If you’re also selling through a website with room visualizers or virtual tours, it’s worth thinking about delivery format early too — we’ve written about how to embed 360 virtual tour renders on developer websites and property portals without killing page speed, and the same file-size and format logic applies to product pages loaded with dozens of high-res furniture renders.
The move to CGI isn’t about replacing craftsmanship with software — it’s about removing the physical bottlenecks that never made sense for a catalog business in the first place. If you’re a furniture or home decor brand weighing this decision for your next collection, get in contact us and we’ll walk through what a pilot render set would look like for your product line.
Frequently Asked Questions
How much money can DTC furniture brands save by switching from studio photography to 3D rendering?
Brands typically save 40-60% on visual content costs by eliminating sample production, shipping, studio rental, and photographer fees. A single 3D model can generate unlimited images and angles across colors and configurations, whereas traditional photography requires new physical samples and shoots for every variation.
Is 3D furniture rendering as realistic as traditional product photography?
Modern 3D rendering uses physically-based materials and lighting engines that produce photorealistic results indistinguishable from real photos to most consumers. Advances in texture mapping and ray tracing now accurately replicate wood grain, fabric weave, and metal finishes with pixel-level precision.
How does 3D rendering speed up product launches compared to studio photoshoots?
3D rendering can cut content production time from weeks to days since it doesn't require manufacturing physical samples before shooting begins. Brands can create marketing visuals during the design phase itself, allowing simultaneous product development and content creation.
Can 3D rendering handle furniture customization options like fabric and color variants?
Yes, 3D rendering excels at variant generation because a single base model can be re-textured into dozens of colorways, materials, or finishes without additional shoots. This makes it ideal for DTC brands offering configurators where customers can preview custom combinations instantly.
What are the main downsides of switching entirely to CGI for furniture product images?
The primary challenges are upfront learning curves in briefing 3D artists effectively and ensuring render accuracy matches final manufactured products to avoid customer trust issues. Brands must also invest in quality control processes to catch subtle material or proportion inaccuracies before publishing renders.