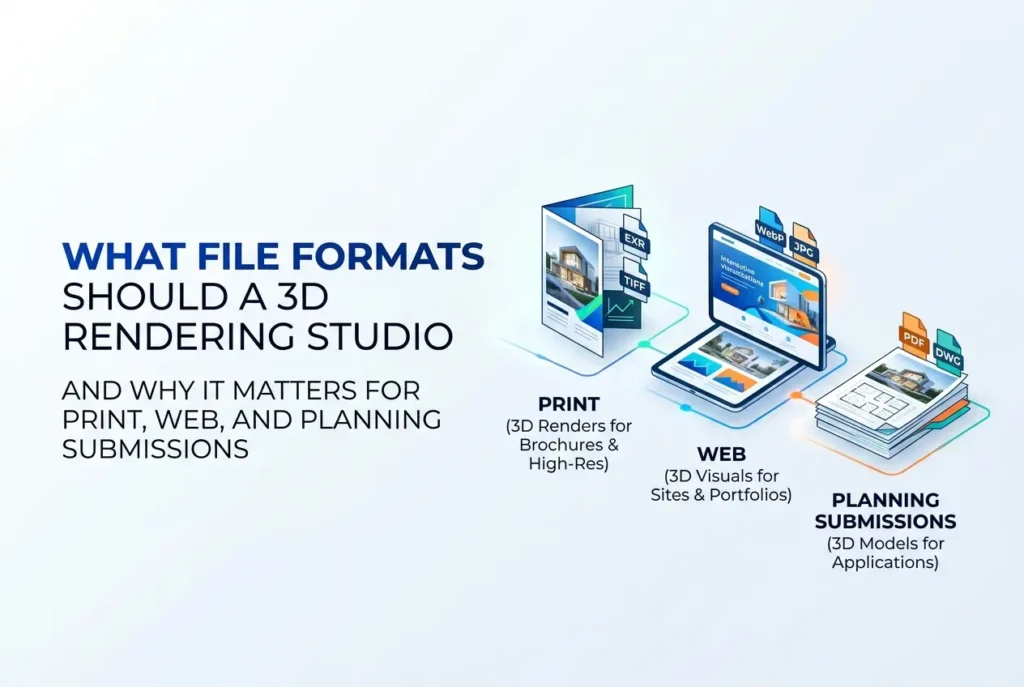
One of the most overlooked conversations in any rendering project — and one that causes the most frustration after delivery — is the question of what file formats should a 3D rendering studio deliver and why it matters for print, web, and planning submissions. Most clients focus entirely on the visual quality of the renders, which makes sense. But once those images arrive and it’s time to actually use them, format suddenly becomes everything. The wrong file at the wrong resolution for the wrong medium costs time, sometimes money, and occasionally a planning submission delay. We’ve seen it happen often enough at our studio that we now treat file format delivery as a standard part of every project brief, not an afterthought.
The reason this matters is that a single render serves multiple masters. The same exterior view of a residential scheme might end up in a planning pack submitted to a local authority, on the developer’s website, in a printed sales brochure, and as a backdrop at a public consultation event. Each of those destinations has completely different technical requirements. What works perfectly on a website will print as a blurry mess on an A1 board. What’s formatted for a council planning portal might strip out colour depth when embedded in a PDF. Understanding these distinctions upfront is part of what separates a professional rendering studio from one that simply sends a folder of JPEGs and calls it done.
This guide breaks down the core file formats, explains what each is suited for, and tells you exactly what to ask your rendering studio to deliver — before the project even starts.
The Core File Formats and What They Actually Do
Let’s start with the basics, because there’s genuine confusion between these even among experienced architects and developers.
TIFF (Tagged Image File Format) is the gold standard for print. It supports lossless compression, meaning no quality is lost when saving or resending the file. TIFF files can hold very high bit depth — typically 16-bit or even 32-bit — which preserves the full tonal range that a renderer produces. If anything is going to a professional print house, it needs to be TIFF. Full stop.
PNG (Portable Network Graphics) is lossless like TIFF but produces significantly smaller file sizes, making it the right choice for web use when you need clean edges, transparency, or text overlay capability. PNG is ideal for floor plan graphics, renders embedded in presentations, and any image where you want a transparent background for compositing.
JPEG (Joint Photographic Experts Group) is the most commonly delivered format and, arguably, the most misused. JPEG uses lossy compression — it discards data every time you save it, and that degradation stacks. A high-quality JPEG at maximum quality settings (think quality level 95–100 in Photoshop) is perfectly adequate for web use, email previews, and screen presentations. It is not suitable as a master file for print. We always deliver JPEGs as secondary exports, never as masters.
EXR (OpenEXR) is the raw render output format used in production pipelines. It supports multiple render passes — diffuse, specular, reflection, shadow, depth, and more — all embedded in a single file. Clients rarely ask for EXRs, but for developers who intend to do post-production in-house, or who anticipate needing colour corrections down the line without going back to the studio, having the EXR is genuinely useful. Think of it as a digital negative.
PDF is not technically an image format, but it matters here because planning submissions and brochures almost universally end up as PDFs. A PDF can embed high-resolution imagery cleanly, but only if the source images going into it are high resolution to begin with. A PDF built from low-res JPEGs does not become high-res by virtue of being a PDF.
What File Formats Should a 3D Rendering Studio Deliver for Planning Submissions
Planning submissions have specific visual requirements that vary by authority, but there are consistent patterns. Most planning portals accept PDFs, and some accept JPEG or PNG directly. The technical minimum is typically 300 DPI at the intended print size — so an A3 render needs to be 3508 × 4961 pixels at 300 DPI before it goes anywhere near a planner’s desk.
What actually gets reviewed in planning is not just the visual quality but the contextual accuracy. A render submitted for a residential planning application needs to show accurate massing, correct material reads, and believable surroundings. This is why we always recommend delivering planning renders as both a high-resolution TIFF master and a clean PDF export, with a separate JPEG version at screen resolution for the online submission portal. Many portals have file size limits — some as low as 5MB per file — so having both the print-ready master and a compressed web version ready to go is just efficient project management.
For schemes that include daylight simulation in architectural rendering how accurate sun studies are helping developers beat planning objections, the deliverables often include a series of sequential images showing solar movement — these should be exported as numbered PNGs or a compiled PDF sequence, not a video, for formal submission documents.
If your scheme requires aerial context views, the format question becomes even more important. Aerial 3D rendering for planning typically needs to be delivered at a size large enough to be printed on a site location board — which means working from a TIFF master at dimensions that can handle A1 output without upscaling.
File Formats for Print: Brochures, Hoardings, and Exhibition Boards
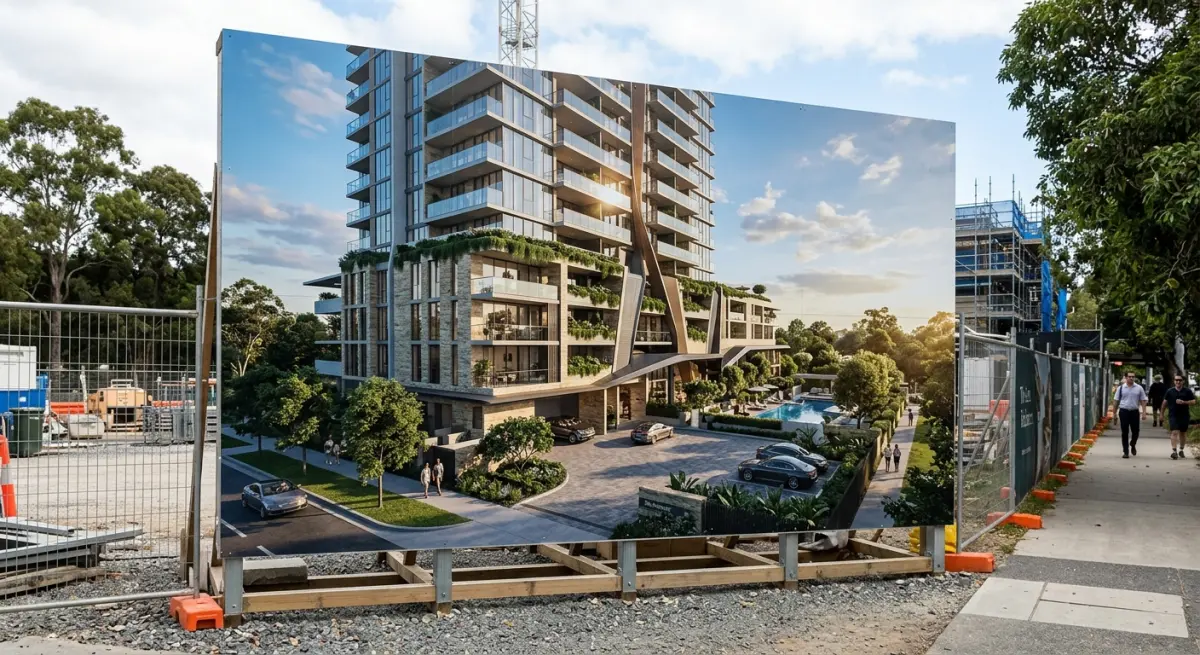
Print is where clients most frequently run into trouble. The issue is usually one of two things: the file was delivered at screen resolution (72 DPI) and looks fine on a monitor, or the file was saved as JPEG too many times and has accumulated compression artefacts that only show up when you send it to a large-format printer.
Here’s a practical breakdown of what’s needed for common print applications:
| Print Application | Recommended Format | Minimum Resolution | Colour Mode |
|---|---|---|---|
| Sales brochure (A4/A3) | TIFF or high-quality JPEG | 300 DPI at final size | CMYK or RGB (confirm with printer) |
| Hoarding / site billboard | TIFF | 150 DPI at final size (large format) | CMYK |
| Exhibition board (A1/A0) | TIFF | 150–200 DPI at final size | CMYK |
| Planning submission pack | PDF (embedded TIFF quality) | 300 DPI at A3 | RGB is acceptable |
| Newspaper / magazine ad | TIFF | 300 DPI at print size | CMYK |
One thing worth flagging: large-format hoardings and site billboards viewed at close range actually need higher effective DPI than those viewed at a distance. A 6-metre hoarding viewed from 10 metres away can survive 100–150 DPI at final output size. The same artwork used on a brochure you hold in your hands needs 300 DPI. Always brief your studio with the intended print application and final output dimensions — not just “high resolution.”
File Formats for Web, Social Media, and Digital Marketing
For digital channels, the priority flips. File size matters for load speed, and most screens can’t actually display the full resolution of a print-ready TIFF. A 300 DPI TIFF that’s 120MB serves no purpose on Instagram or a property listing website — it’ll either get compressed by the platform automatically or slow down a page to the point of being counterproductive.
For websites, deliver JPEG at 72–96 DPI, sized to the maximum display width of the container (typically 2400–3000px wide for full-bleed hero images). PNG is better when you need transparency — for instance, a rendered floor plan being dropped onto a coloured background in a web layout.
For social media, platforms compress images on upload regardless of what you send them. For Instagram and LinkedIn, a clean JPEG at 1080×1080 or 1200×628 (for LinkedIn banners) at maximum JPEG quality is fine. There’s no value in uploading a 50MB file — the platform will destroy it anyway.
For property portals and estate agent platforms, check the portal’s own technical spec. Most have a ceiling on file size and a maximum pixel dimension. Going over those limits often triggers automatic downsampling, which can introduce its own artefacts.
If you’re using an 3D 360 virtual tour rendering, the delivery format is different again — equirectangular JPEG at very high resolution (typically 8000×4000 pixels or above) is the standard for 360 imagery, designed to be consumed by a viewer application, not printed or posted as-is.
What Clients Get Wrong — And What to Ask For Upfront
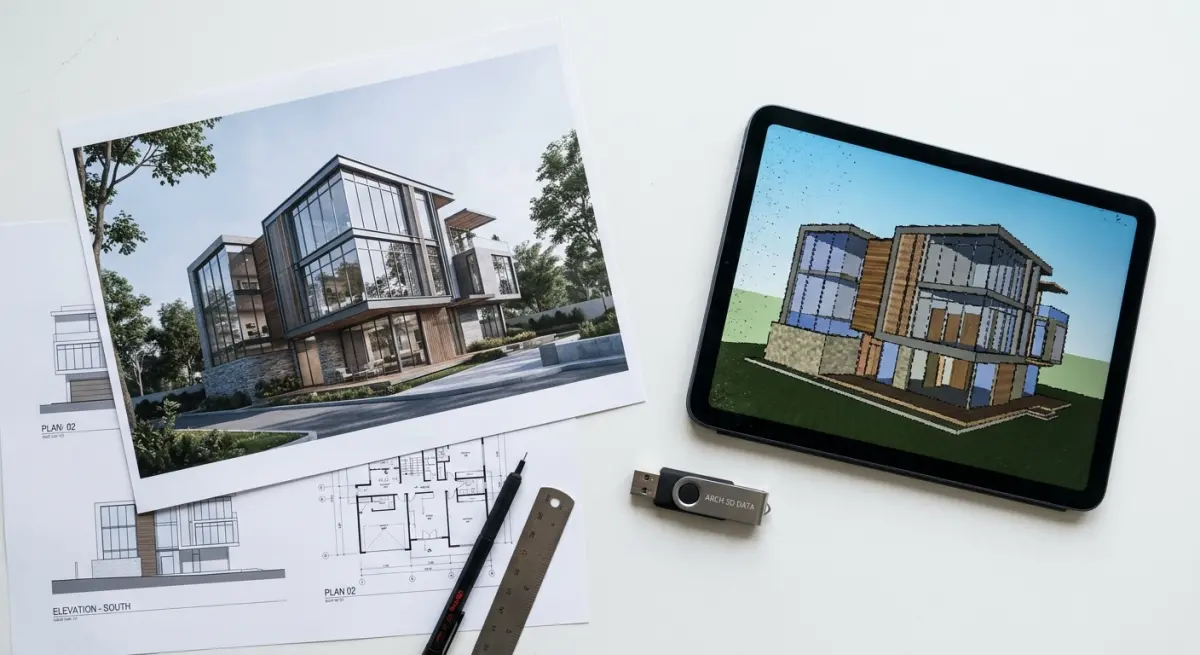
The most common mistake we see is clients not specifying their end use when they commission the renders. A studio that hasn’t been told the images are going to a print house will naturally deliver JPEGs at screen resolution — because that’s what most clients use 90% of the time. The problem shows up three weeks later when someone tries to send the file to a large-format printer.
The second mistake is treating JPEG as a working format. Every time you open a JPEG, edit it slightly, and save it again, you lose quality. If you’re making text overlays, adding logos, or compositing render views into a brochure layout in InDesign or Photoshop, always work from the TIFF master. Export your JPEG at the very end of that process, not in the middle of it.
The third thing — and this one is particularly relevant for larger schemes — is not requesting layered files or render passes when they might be needed later. If you’re commissioning residential exterior rendering for a development that will be marketed across multiple seasons, getting the EXR files means your design team can adjust sky, lighting mood, and warmth without going back to the studio for a full re-render. It’s worth asking about upfront, even if you don’t end up using it.
For developers and architects working on schemes that touch planning — whether that’s a co-living development, a student accommodation scheme, or a custom self-build — it’s genuinely worth reading about what planning authorities actually look for. Understanding exterior 3d rendering for planning permission what councils actually look for in visualisations helps you brief your studio on not just format but content, context, and level of detail — all of which feed into how the final files need to be prepared.
A Standard Delivery Package Worth Asking For
Based on our experience across residential, commercial, and mixed-use projects, here’s what a well-structured render delivery package should include as standard:
- Master TIFF files — full resolution, lossless, one per view, labelled clearly
- Web-optimised JPEGs — compressed to ~2–5MB per image, suitable for email, web, and presentations
- PNG versions — for floor plans, detail crops, or any image requiring transparency
- PDF export — for planning submissions, at A3 or A2 with image quality embedded at 300 DPI equivalent
- EXR files (on request) — for clients who need post-production flexibility
- Naming convention — sensible file names (Project_ExteriorNorth_Final_v1.tiff, not Render_003_final_FINAL2.jpg)
It’s a small thing, but naming conventions matter more than most people realise. On a large development with dozens of views across multiple revision rounds, a studio that delivers unnamed or inconsistently named files creates hours of extra admin on your end.
Conclusion
File format delivery isn’t glamorous, but it’s genuinely important. Getting this right means your renders work exactly as intended — whether they end up in front of a planning committee, printed on a six-metre hoarding, or running as a hero image on your project website. The question of what file formats should a 3D rendering studio deliver and why it matters for print, web, and planning submissions deserves a direct answer in your brief, not a conversation you have after delivery when something doesn’t work.
If you’re starting a new project and want to make sure the technical delivery is handled properly from day one — alongside the visual quality — we’re happy to walk through the specifics with you. Contact us at 360archviz.com and we’ll make sure your renders arrive ready for every medium you need them in.
Frequently Asked Questions
What file formats should a 3D rendering studio deliver for high-quality print use?
For print applications, a 3D rendering studio should deliver high-resolution TIFF or PNG files at a minimum of 300 DPI, as these formats preserve maximum image quality without compression artifacts. EPS or PDF formats may also be requested when the rendering needs to be embedded into brochures or marketing materials alongside vector elements. Providing these formats ensures that printed outputs like posters, banners, and project brochures maintain sharp, professional-grade visuals.
Which file formats are best for delivering 3D renderings for websites and digital marketing?
For web and digital marketing use, JPEG files are the most practical choice due to their smaller file size and universal browser compatibility, making pages load faster without significant quality loss. WebP is an increasingly preferred format for modern websites because it offers superior compression while maintaining visual clarity. Studios should also deliver PNG files when transparency is needed, such as for product overlays or renders placed on custom backgrounds.
What file formats are required for 3D architectural renderings submitted to planning authorities?
Planning and permit submissions typically require PDF files because they maintain formatting consistency across different devices and are widely accepted by local councils and regulatory bodies. High-resolution JPEG or TIFF images embedded within a PDF report are also standard, ensuring that reviewers can assess spatial layouts and design intent clearly. Some authorities may specify exact resolution requirements, so studios should confirm submission guidelines before rendering final deliverables.
Why does it matter which file format a 3D rendering studio delivers to clients?
Delivering the wrong file format can result in pixelated prints, slow-loading websites, or rejected planning submissions, all of which cost clients time and money to fix. Different end uses have distinct technical requirements, and a professional studio that understands these differences adds real value by eliminating compatibility issues before they arise. Providing multiple formats as part of a standard delivery package ensures that clients can use their renders across all channels without needing to return for revisions.
Should a 3D rendering studio also deliver raw or layered files like PSD alongside final renders?
Delivering layered PSD or raw render passes such as diffuse, shadow, and reflection layers gives clients and their designers the flexibility to make post-production edits without starting from scratch. This is especially valuable for marketing teams who need to adapt visuals for different campaigns, lighting scenarios, or seasonal promotions. While not always included by default, offering raw files as an add-on service is a strong differentiator for studios working with agencies or large-scale developers.